Your Site Preparation Roadmap
Creating the perfect foundation for your commercial playground.
Getting Started
The Smart Approach to Site Prep
Every successful playground begins with thoughtful site preparation. This guide walks you through everything from choosing the right location to installing safety surfacing. Take these steps seriously now, and you'll avoid costly corrections and delays later.
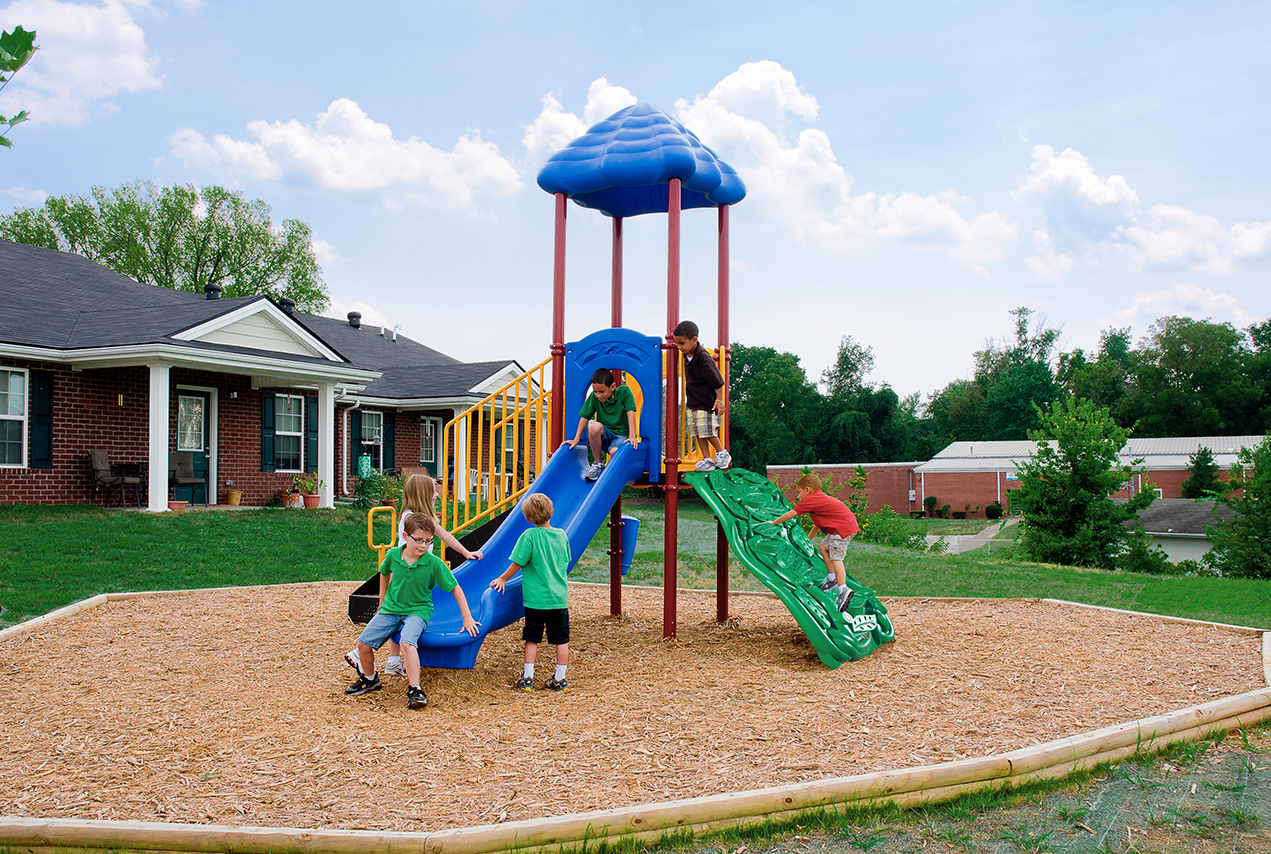
Who We Work With Serving Organizations That
Need Practical Play Solutions
Our playground equipment and systems are designed specifically for organizations that need commercial durability without complicated installation or excessive costs.
Handle the Paperwork
Before breaking ground, address legal requirements and coordinate with other site improvements. These administrative steps protect your project and ensure compliance:
-
Research your local building codes for commercial playground installation requirements
-
Apply for necessary permits well in advance to avoid project delays
-
Plan sidewalk routes that maintain required clearances from play equipment
-
Design lighting layouts that improve safety without creating play area obstructions
-
Schedule fencing installation if your site requires additional security barriers
-
Coordinate playground work with any planned landscaping or parking improvements
Choose Your Location
Selecting the right spot sets everything else in motion. Look for locations that meet these essential criteria for safe playground placement:
-
Find open areas without elevation changes, exposed rocks, tree roots, or stumps
-
Watch for overhead hazards like tree limbs and power lines that need 84 inches of clearance
-
Stay away from water features, including pools, ponds, lakes, or drainage areas
-
Maintain safe distances from roads unless you're planning protective fencing
-
Pick spots with natural drainage to prevent standing water after rain
-
Ensure easy access for delivery trucks and future maintenance vehicles
Prepare the Ground
Once you've chosen your location, proper ground preparation becomes critical for equipment stability. Follow these steps to create an ideal installation surface:
-
Level any areas with slopes greater than 1-2% grade to ensure equipment stability
-
Call 811 or local utility companies to mark all underground lines before any digging begins
-
Clear the entire area of debris, rocks, and vegetation that could interfere with the installation
-
Consider professional grading if your site has significant undulations or drainage issues
-
Choose between ground spikes, concrete anchors, or traditional footers for equipment mounting
-
Use installation diagrams to precisely mark equipment placement before starting work
Plan Safety Surfacing
Protective surfacing beneath and around your equipment is non-negotiable for child safety. Make informed decisions about this critical component:
-
Remember that hard surfaces like concrete or asphalt are never acceptable under play equipment
-
Compare Engineered Wood Fiber, Rubber Tiles, and Poured-in-Place options for your needs
-
Calculate total coverage area, including all required use zones and transition areas
-
Determine proper depth requirements based on your equipment's maximum fall heights
-
Budget for both the initial installation and the ongoing maintenance of your chosen surface
-
Factor in accessibility requirements when selecting your surfacing material
Safety Spacing
Understanding Use Zones
Use zones are mandatory safety areas where children might land during play. Understanding these spacing requirements keeps kids safe and ensures compliance:
-
Standard equipment needs 6 feet of clear space on all sides
-
Each piece requires its use zone — no overlapping allowed
-
Swings demand extra clearance: 4 times the top rail height
-
Slide exits need 6-8 feet based on slide height
-
Keep zones completely clear of obstacles and hazards
-
Check equipment manuals for specific measurements